數位行銷該有地數位素養
發表迴響
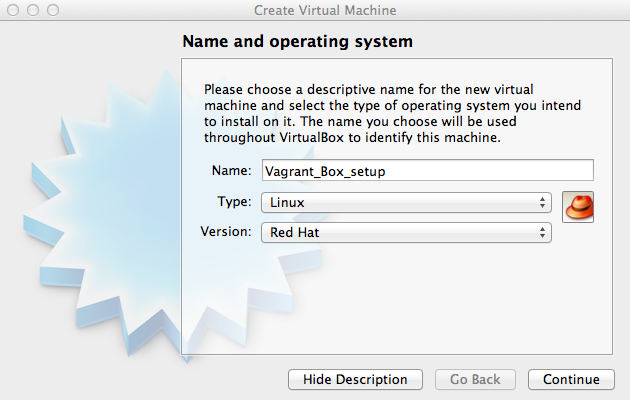
Conventions over configuration if you plan to distribute this box
Hostname: vagrant-[os-name], e.g. vagrant-debian-lenny
Domain: vagrantup.com
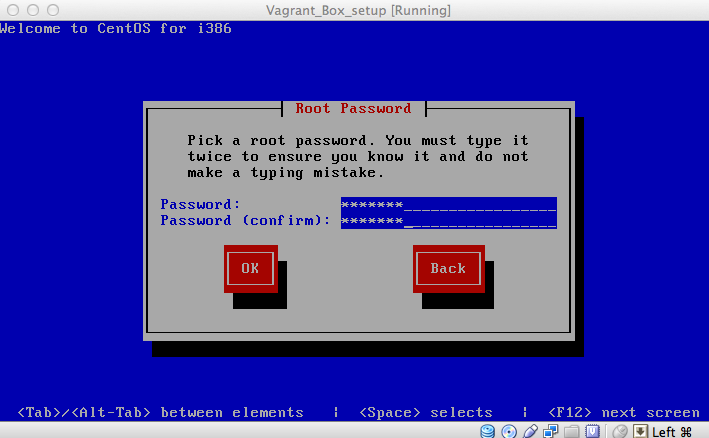
Root Password: vagrant
Main account login: vagrant
Main account password: vagrant
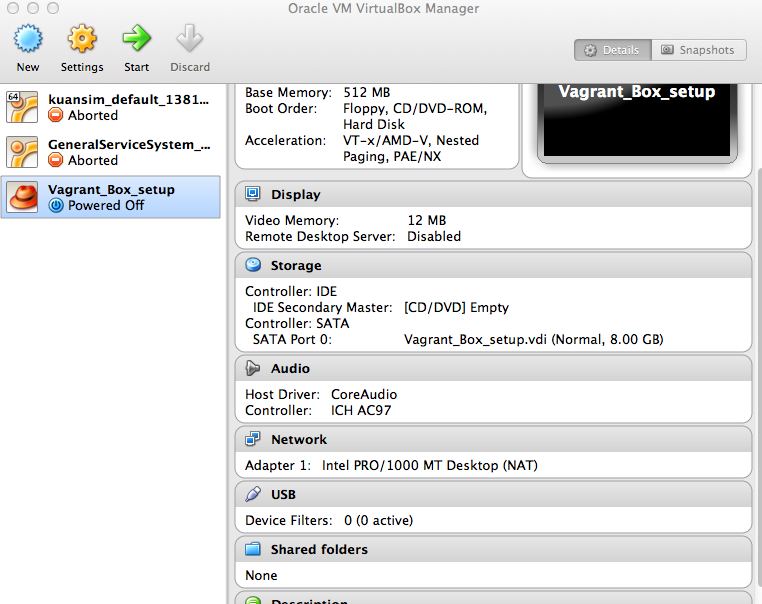
OS: CentOS-6.2-i386-netinstall
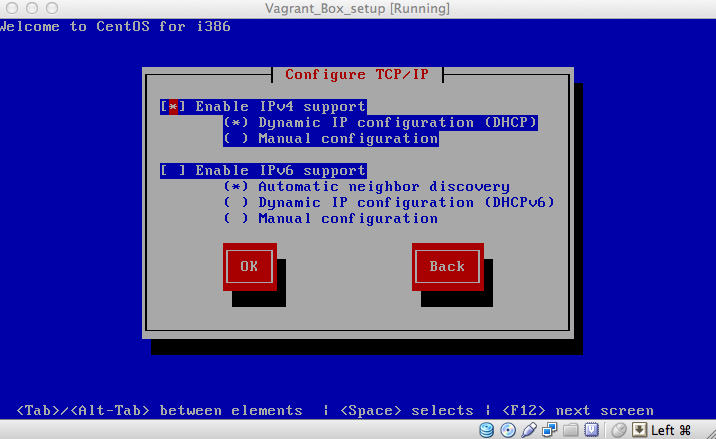
Disable iPv6 support
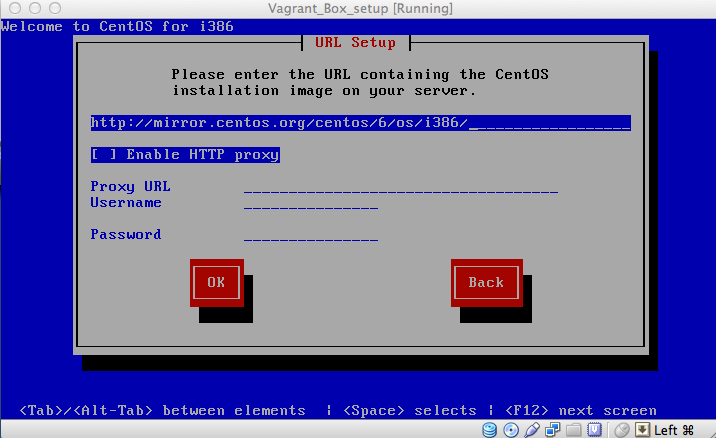
URL setup
image file link
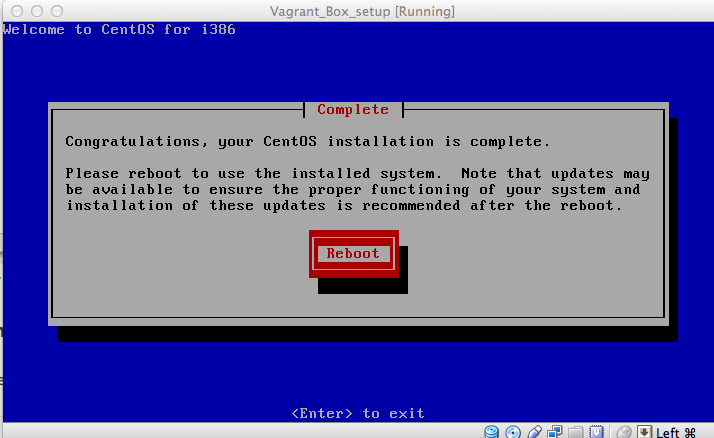
Set vagrant as the root password
export KERN_DIR=/usr/src/kernels/`uname -r`
yum install -y gcc make perl kernel-devel kernel-headers
yum update kernel* -u
shutdown -r now
require 'redcarpet'
markdown = Redcarpet.new("Hello World!")
puts markdown.to_html
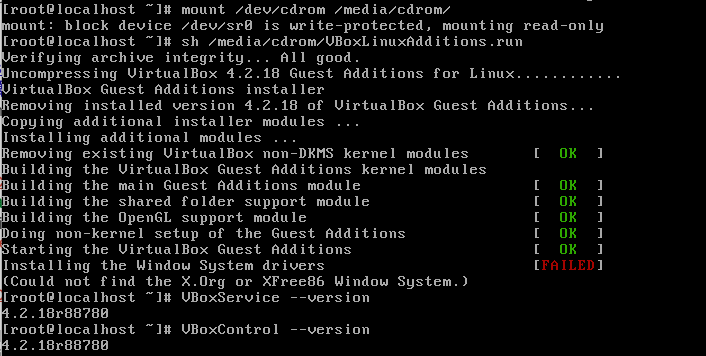
install the VirtualBox Guest Additions
set vagrant user
groupadd admin
useradd -G admin vagrant
SSH configuration and user permission
echo "%admin ALL=NOPASSWD: ALL" >> /etc/sudoers
echo 'Defaults env_keep="SSH_AUTH_SOCK"' >> /etc/sudoers
vi /etc/sudoers
Add ! to the requiretty line. This enables vagrant to sudo remotely.
Default !requiretty
Add ssh public key
mkdir -m 0755 /home/vagrant/.ssh
$ curl -s https://raw.github.com/mitchellh/vagrant/master/keys/vagrant.pub > \> /home/vagrant/.ssh/authorized_keys
chmod 0644 /home/vagrant/.ssh/authorized_keys
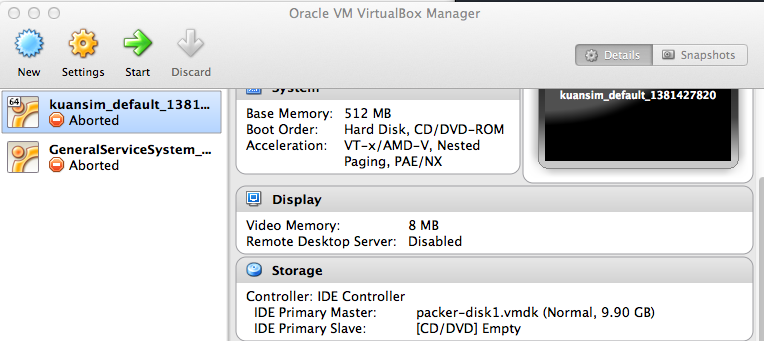
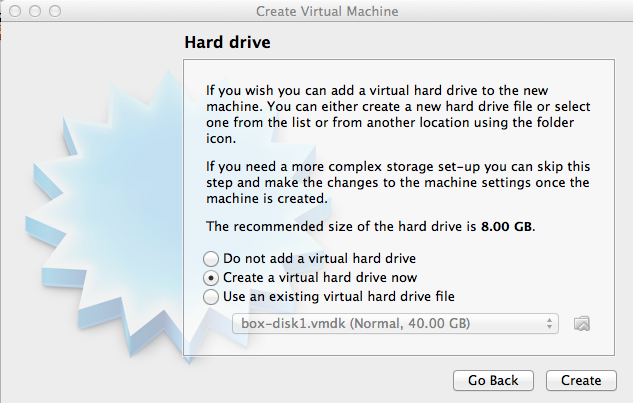
Setup base box
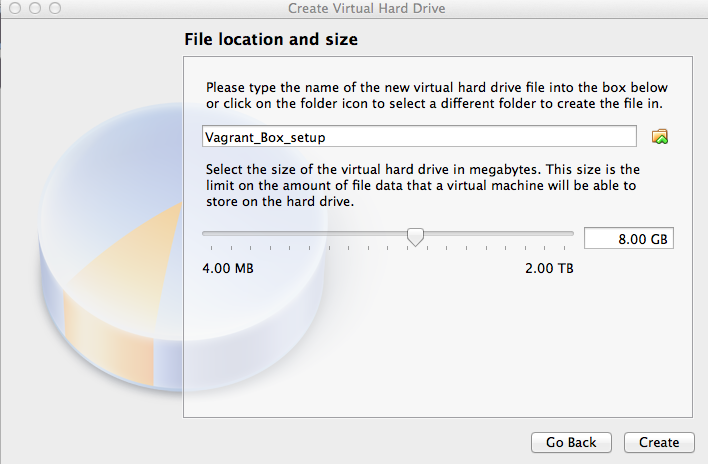
cd ~/Documents/Virtual\ Machines.localized/.localized/
vagrant package --base Vagrant_Box_setup
[Vagrant_Box_setup] Clearing any previously set forwarded ports…
[Vagrant_Box_setup] Creating temporary directory for export…
[Vagrant_Box_setup] Exporting VM…
[Vagrant_Box_setup] Compressing package to: /Users/yoyo_chen/VirtualBox VMs/Vagrant_Box_setup/package.box
Vagrant_Box_setup yoyo_chen$ vagrant box add test_box package.box
Downloading or copying the box…
Extracting box…te: 17.2M/s, Estimated time remaining: 0:00:01)
Successfully added box ‘test_box’ with provider ‘virtualbox’!
Anyone who is interented in other OS platform can refer this
Debian
Debian OS iso
Building your own Base Box for Vagrant
Ubuntu
vanilla-boxes
Creating a vagrant base box for ubuntu 12.04 32bit server
CentOS
Creating a CentOS 6.2 base box for Vagrant
Creating a CentOS 6.2 Base Box for Vagrant 1.1
Vagrant Official Doc
Base Box
以下是安裝設定SOP,請大家在自己的電腦設定一下。
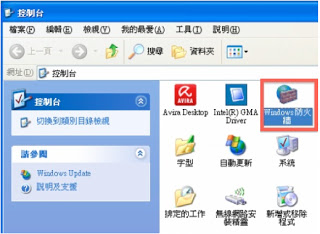
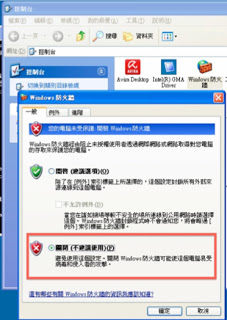
1.關閉防火牆
Windows 平台:控制台--》Windows防火牆--》關閉
2.下載應用程式
http://apache.stu.edu.tw//jmeter/binaries/apache-jmeter-2.8.zip
3.解壓縮到指定目錄
5.
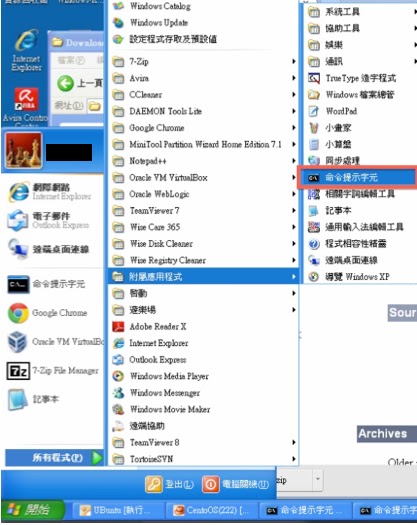
安裝
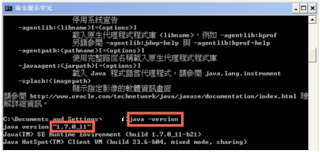
確認Java 版本
在命令提示字元下輸入 java -version
請把版本回覆給我(ex. 1.7.0_11)
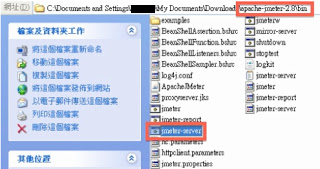
6.到解壓縮目錄下面
apache-jmeter-2.8資料夾-》bin資料夾下,
(1)Windows版本請找jmeter-server檔案並執行。
(2)Mac/Linux 版本 :
請執行下面修改權限
$ chmod u+x jmeter
$ chmod u+x jmeter-server____
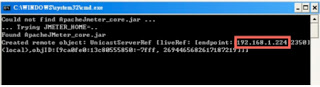
$ ./jmeter-server
7.執行成功畫面